Many of us that are scrapbookers are really die hard crafters in general. Right? I admit I am. While scrapbooking takes up most of my time, I still like to do some sewing, some painting, some crocheting, some cross stitch, some plastic canvas….well, you get the picture. There just isn’t enough time in the day and I’m retired! I knew I wouldn’t be bored after leaving the corporate world.
Just because scrapbooking has become top on my list doesn’t mean I will leave everything else behind. For example, I have been known to add cross stitched pieces on my scrapbooking pages. 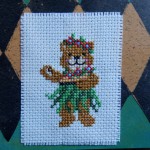 This is from a page in my Hawaii album. If you like to cross stitch, you can do the same.
Another thing you might consider that can be really fun is actually stitching ON the paper. I know, it’s kind of scary at first. This might help:
- You don’t need a fancy sewing machine – anyone will do. I’ve seen a child’s machine used.
- If you’re a sewer, you already know what paper does to scissors (paper dulls scissors). The horror if someone picks up your sewing scissors for paper!!! Keep this same thought in mind with your needle.
- Use a special needle just for paper. Paper will dull your needle. You can mark it with nail polish.
- Use a thin needle. You’re going through paper and you don’t want big holes.
- Make sure you always sew the paper from the front.
- You might have to play with stitch length. The longer the stitch, the better. Shorter lengths will perforate the paper.
- Again, you may want to play with tension. Too loose will give you loops but too tight will tear the paper.
- If you use adhesive to hold pieces together (since you can’t use pins), be sure to use it only in areas that you are not planning to stitch in. Adhesive will gum up the needle.
- You can lightly draw a design on the paper in pencil so that you have a line to follow as you’re sewing.
- Go slow at corners. You can’t back up like when you’re sewing. You don’t want extra holes.
- When you’re using any kind of fancy embroidery stitch, you might want to sew on more than one piece of paper for reinforce the stitching.
- When your sewing is complete, pull the top thread through to the back and fasten – I usually tape it to be sure it holds.
- So what can you do with the sewing?
-You can sew items onto paper (think lace, ruffles, fabric, felt)
-You can make borders around the entire page
-You can create a journal box (or pocket)
-You can stitch different papers together (think quilt look)
-Sew fabric swatches onto the paper (perhaps matching an outfit)
-You can simply make designs on paper or follow a pattern on the paper
Samples from London:
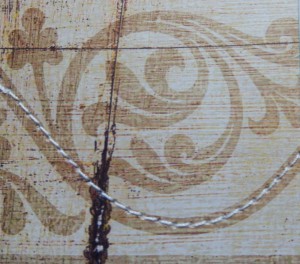
Stitch along design
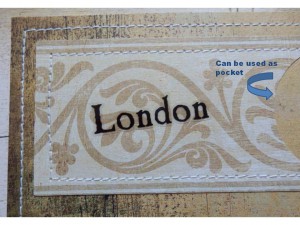
Possible stitched pocket
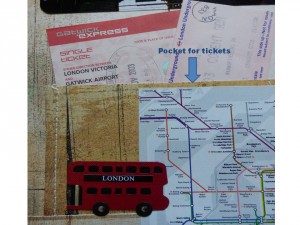
Stitched pocket
Other Samples:
Stitched Journal box

Stitched fun design
Remember – clean your machine often. Paper creates more dust than fabric.
One last thing – all the above is geared toward machine sewing. You don’t HAVE to use a machine. You can simply use needle and thread!!!! When I do albums that have a window in the front, I will often hand embroider the recipient’s initials on paper aidas “cloth” and slip it in the window.
As always, play with this and enjoy the process. I’d love to hear your experiences.
Thank you for stopping by.
Please leave comments.
by Debbi founder of Scrapbooking for Anyone