Archives

Scrapbooking Gift Ideas

The stores have been putting out Christmas items since this summer. Crafters start early. Yet many of us work better under pressure. So there’s still time to create something special. Have you thought about what you’re going to give that person who has everything? I’m right there with you. Here’s a couple small scrapbooking gift ideas.

Make it personal. It doesn’t have to be anything elaborate or fancy. I found out that generally between a store bought expensive gift and a thoughtful handmade gift, most people prefer the latter. Last year I bought a friend a gift that cost quite a bit and then at the last minute decided to make her a small scrapbook about a weekend we had taken with our daughters. She LOVED the scrapbook. It was only an 8×8 but it was the memories captured in this book that she’ll cherish.

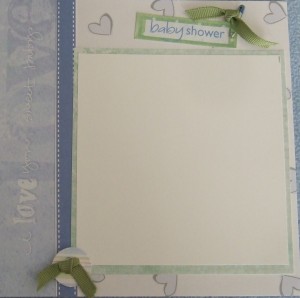
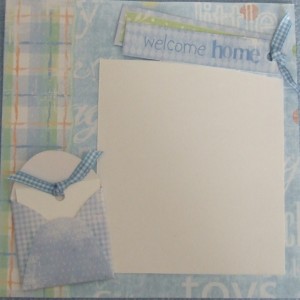
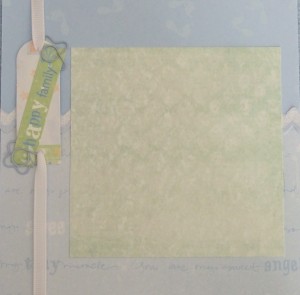
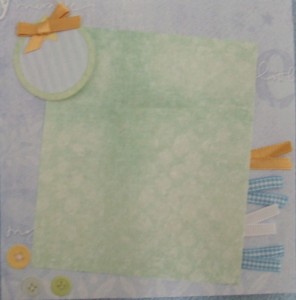
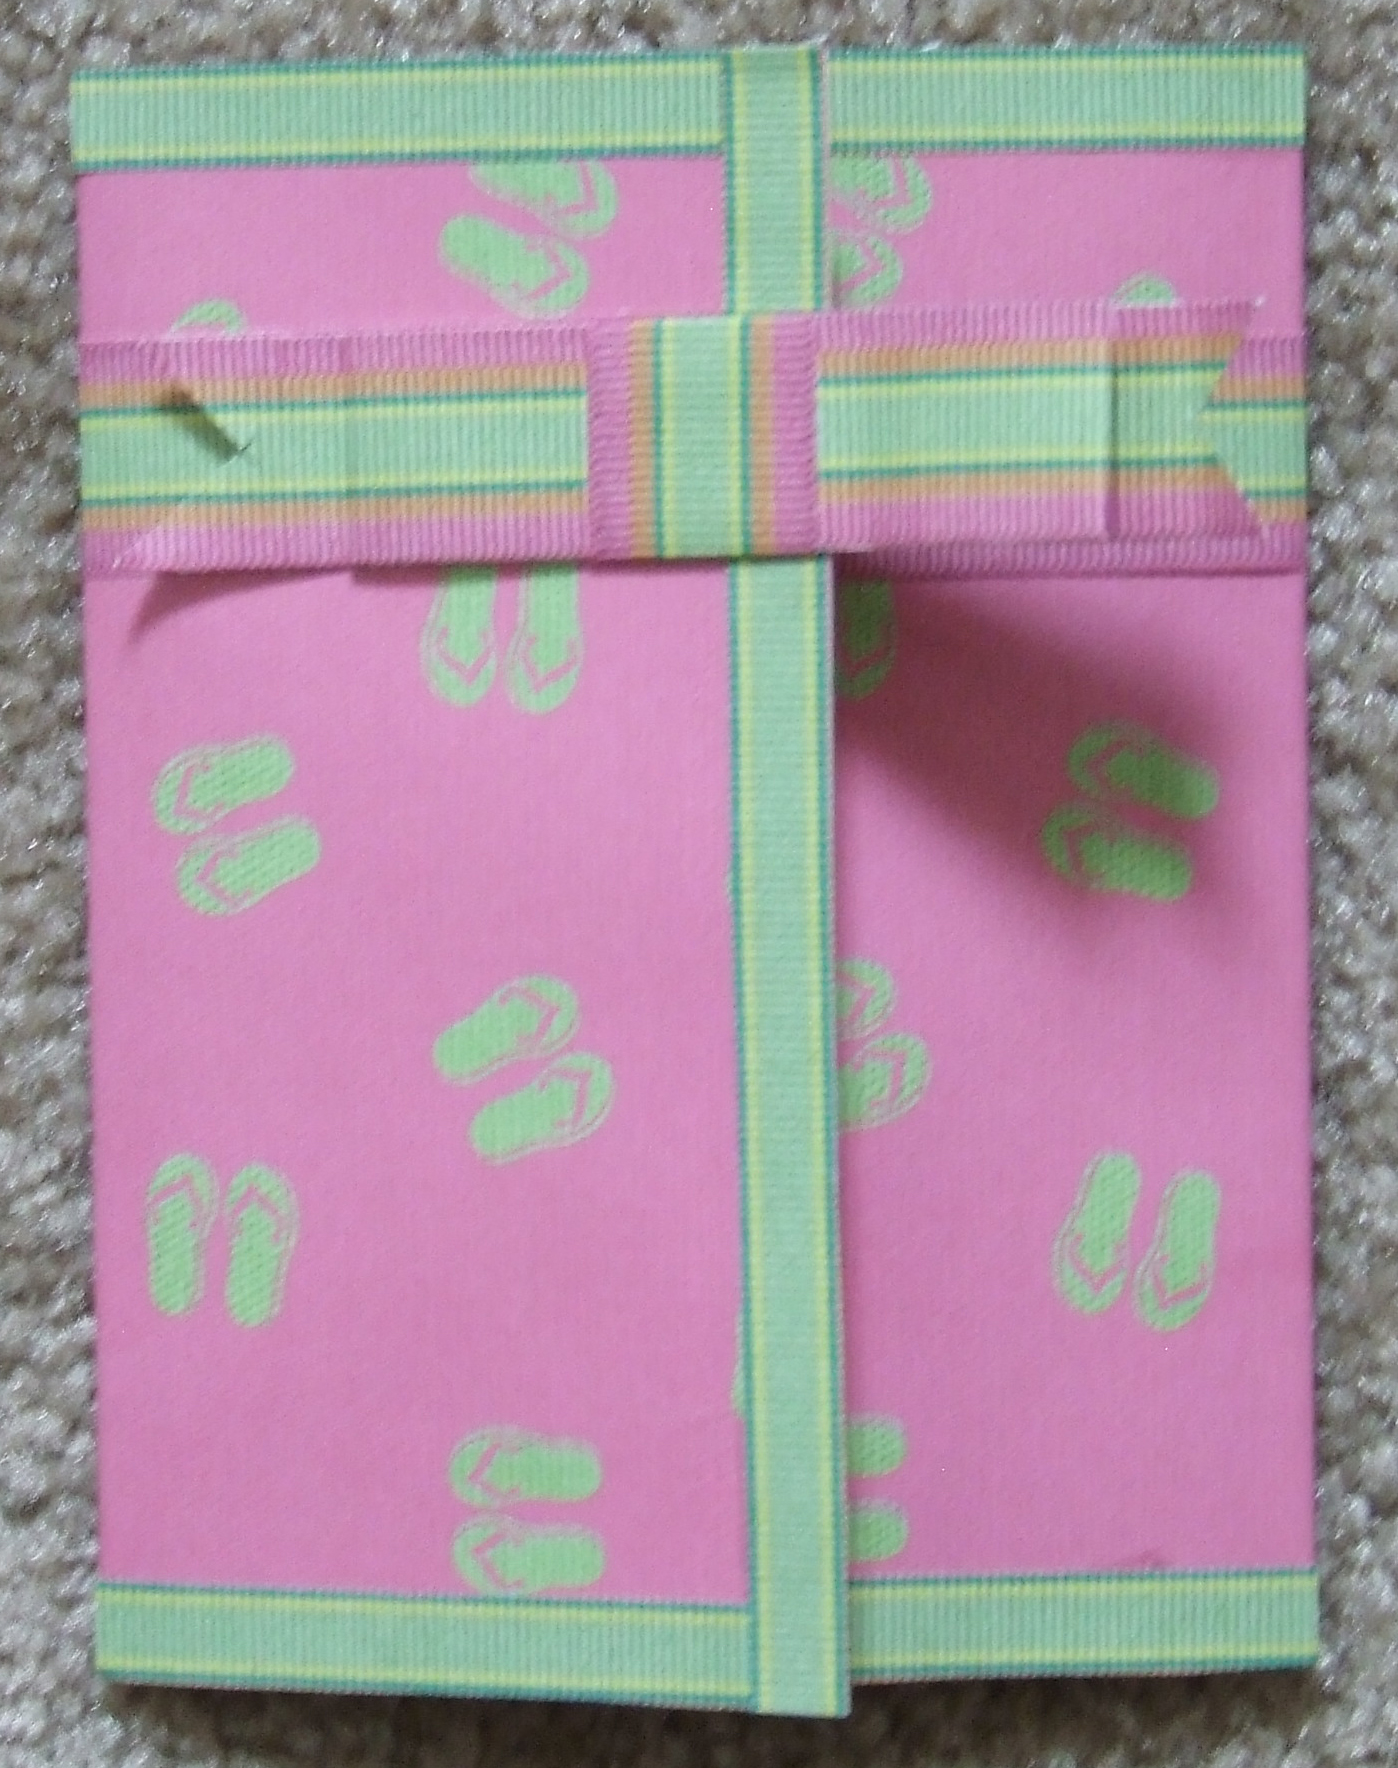
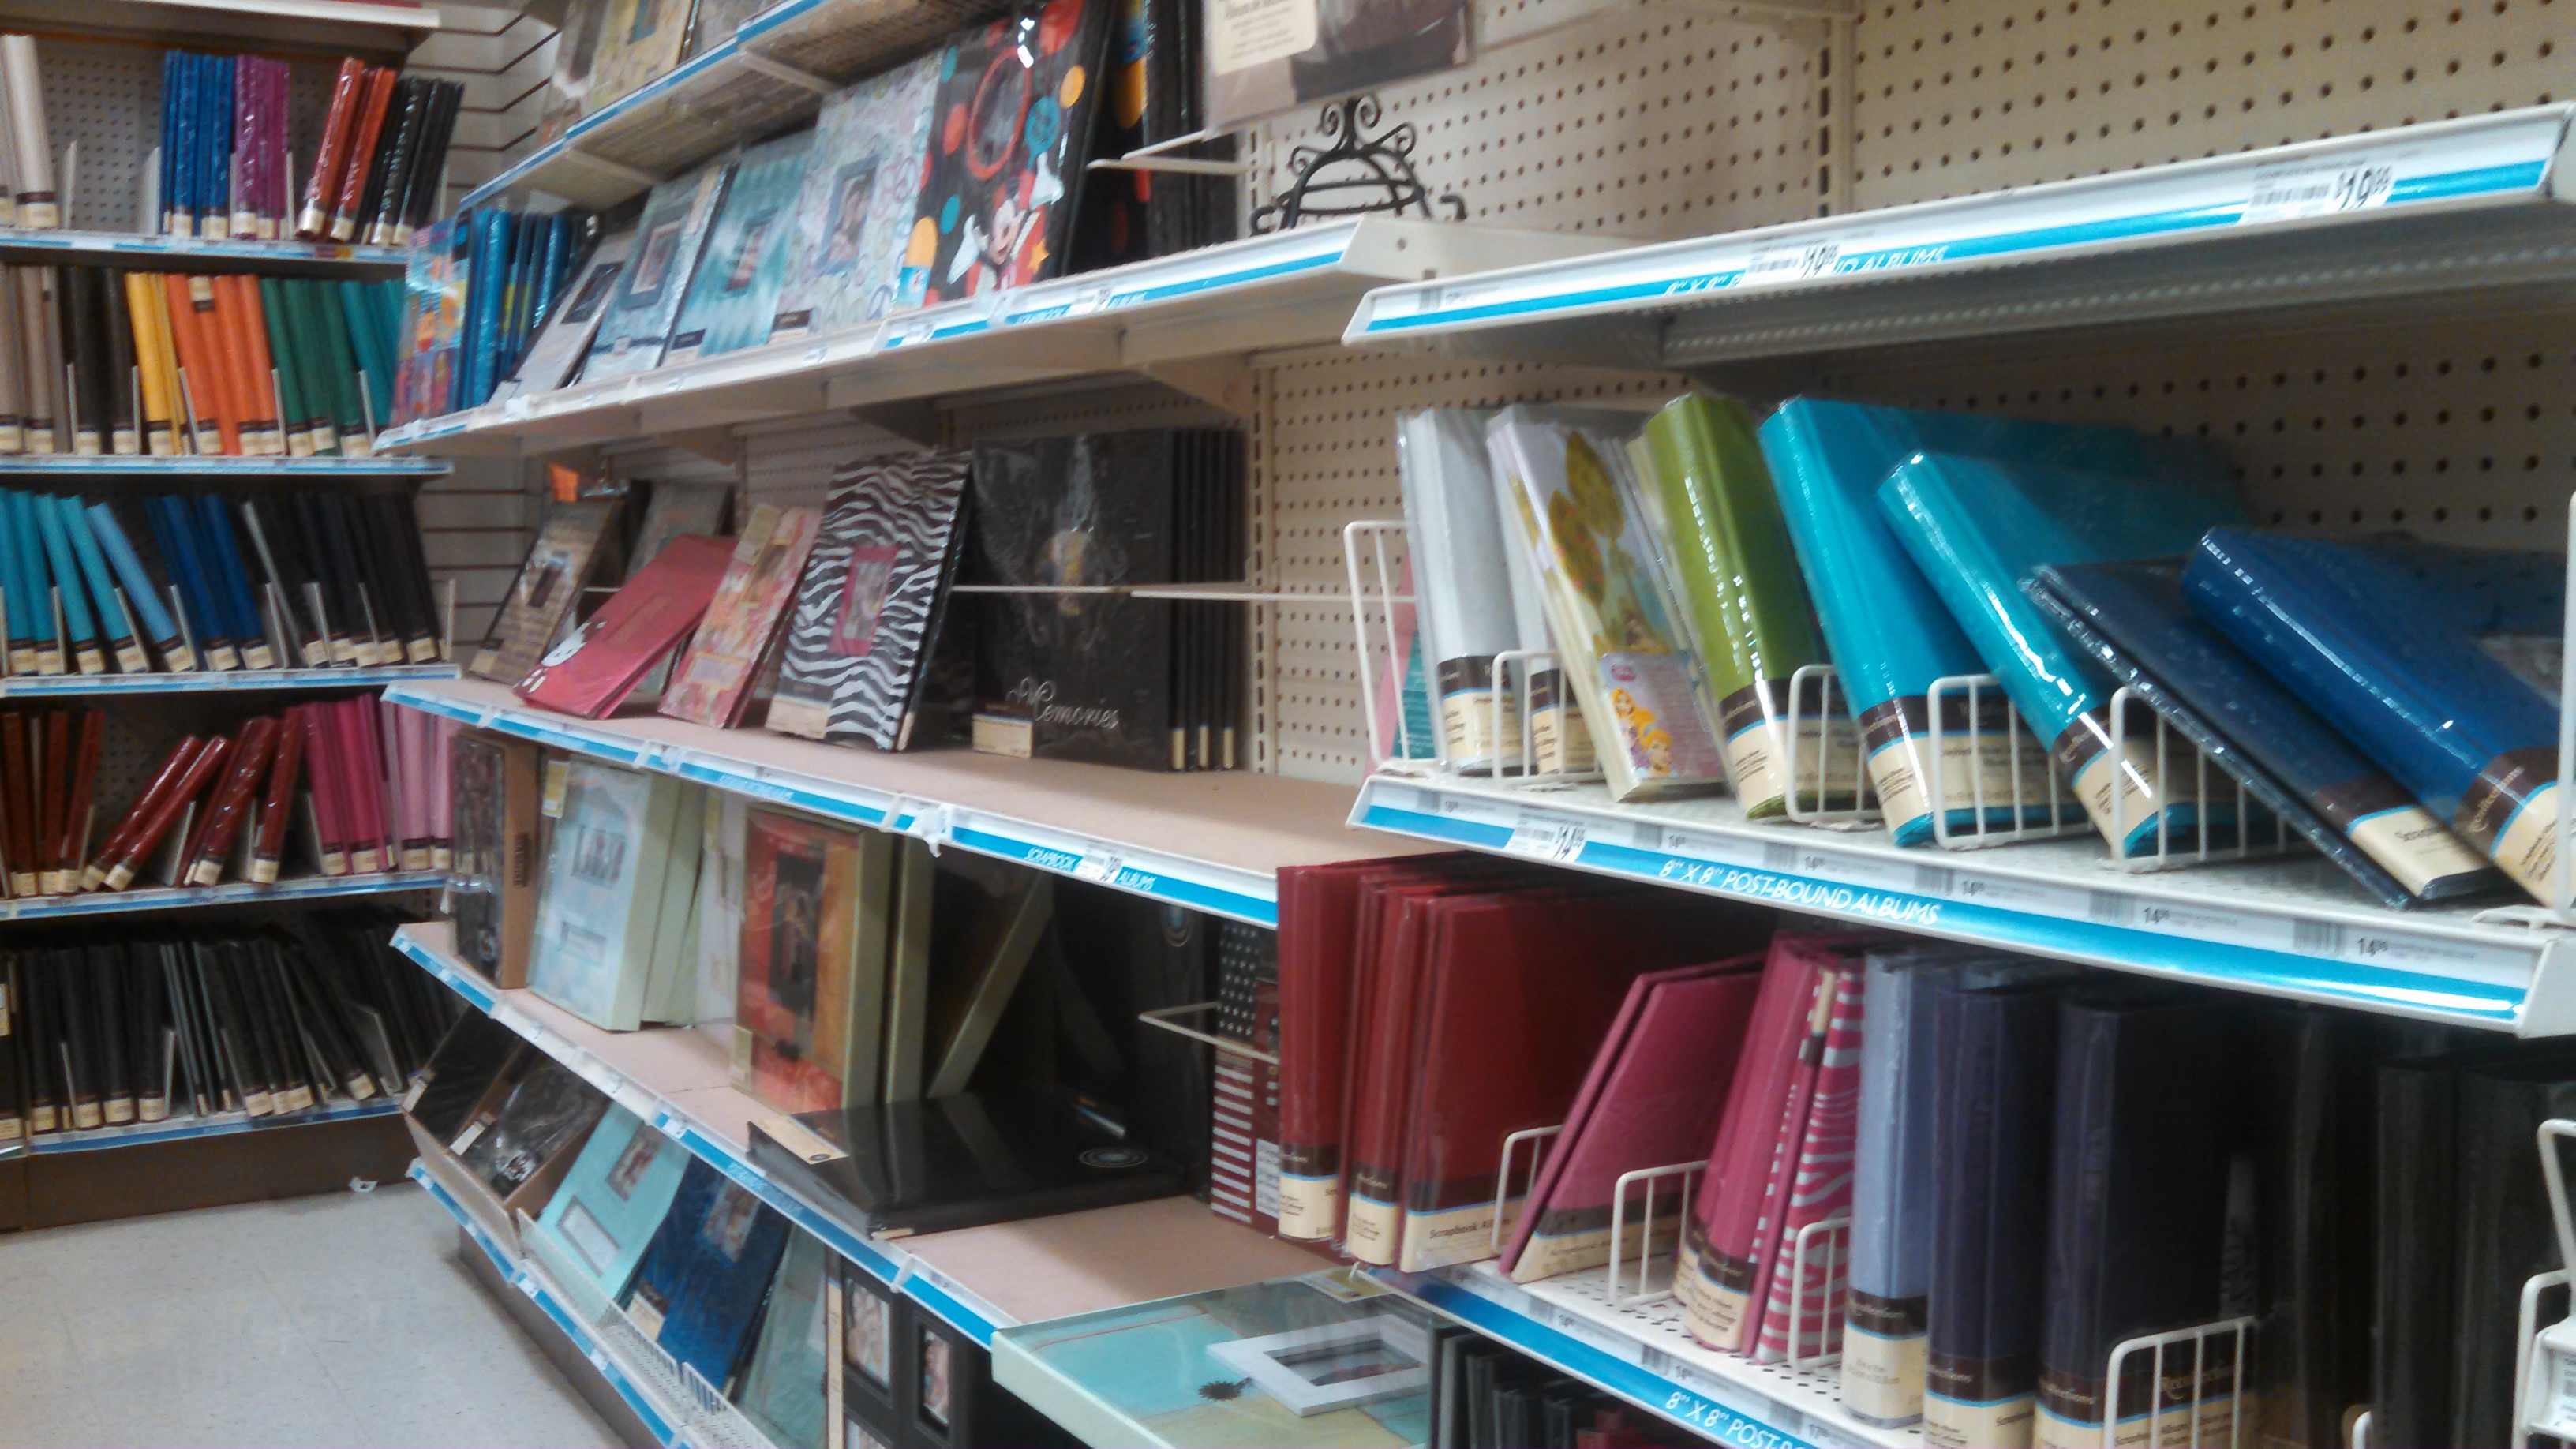
Here’s something really simple and fast made of cardstock and ribbon:

Booklet

Outside booklet (heavy cardstock)
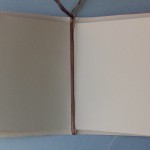
 

Booklet inside

Inside booklet


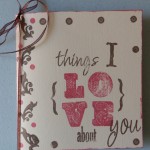
The outside can say anything from:

-I’m Thankful For …..
-You Are …..
-When I look at You …..
-I Love You Because …..
-Because of You …..
-In Your Eyes …..
-Reasons You Make Me Smile …..
(then list everything on the inside)

to:

-Favorite Recipes from …..
-Highlights of Our Year

You don’t have to use a lot of photos. You can do a 6×6 or even use a spiral bound book. I found this one in the Dollar Store yesterday.

Smash book3

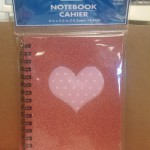
Smash Book Dollar Store

I thought it was adorable. Just make sure if you use one of these and use photos, you protect the photos from touching anything not acid free. You could staple ribbon tabs on the edges for decoration.

I’ve done these small books and put them in a basket with a mug and hot chocolate, tea or coffee and some baked goods so they can snack while they look through the book.

My next post will be talking about paper bag books.


by Debbi founder of ScrapbookingForAnyone.com

Thank you for reading.  Comments/Questions?


Ready for Some Albums?

You’ve purchased the paper, you’ll create the pages and now you need a way to store and present your pages. You insert your completed pages into page protectors. Page protectors are plastic sheets that keep dirty hands off your photos and embellishments. You then assemble these page protectors into an album. Albums keep your pages dust free and protected from light.

Albums come in a whole range of styles, sizes, colors, textures, themes and types of fastener. So much to choose from that it can be difficult to decide which is right for you. There IS no right or wrong. I’ve done all size albums, all colors all themes.

Scrapbook Albums

Let’s start with the album itself. Things to think about before you decide:

Is this a gift? If yes, what kind of gift – for a baby, birthday, retirement?
Did you just return from Disney and want all your photos stored together?

I ask these questions because you’ll want to think about how many photos you have to work with and how much you want to spend. Of course bigger albums can cost more.

When I do a gift, I usually do a smaller album like an 8×8 or even a 6×6 for baby gifts. However, when I’m doing personal albums, I usually do 12x12s. I do my albums by year so in any given year, I’ll have tons of photos and I can get more on a 12×12 page so I can generally keep it to 1 year per album.

Additional thoughts by size:

12×12

holds numerous photos

a lot of room to journal and decorate page

many 12×12 papers to choose from

large range of styles from leather to fabric from themed to plain

8 ½x11

still many papers to choose from

can handle standard computer paper

8×8

will be faster to put together because you’ll have less journaling

faster to assemble due to less embellishment space

makes a nice gift album

6×6

economical to make

12×12 paper can be cut to create 4 pages

mix and match just a few designs to make many pages

makes a nice gift

use for a single important theme (birthday, anniversary, etc)

Once you pick out an album, you’ll want to notice what kind of fasteners it has. There is:

Ring binder: these are nice because if you want to add another page, you simply flip to where you want to insert the new page, unfasten, slip the new page in and refasten. Simple and quick.

Album

Post bound: Most of my albums are post bound because I like the look of them. They just seem to have a more finished appearance. Just my personal preference. However, they are a pain if you want to insert a new page. You must unscrew the post from one side while holding the screw still on the other side, pull out ALL the pages, insert your new page, then slowly put all the pages back in and rescrew the posts back together. The posts do come in different sizes that allow you to make your book as big as you’d like. Use your judgment on this though. You don’t want to make it too big or it will be too floppy.

Album1

Most albums are post bound but you can get 12x12s and 8x11s that are a ring binder type.  Again, there will never be a right or wrong. This is your creation and you can do whatever you want.

I hope this helps with your album selection.  Please feel free to contact me for additional help.  There are so many variables when you’re deciding and not a one size fits all.


Thank you for reading

Please leave Comment/Questions

Debbi Armstrong


More Organization to the Rescue

Ok, I know I promised photos and papers in my last post, but as I was preparing the post, I thought perhaps I put the horse before the cart so to speak. If you start gathering all these things, you’ll need a place to all of it.

On Feb 21st, I wrote a post outlining numerous organizational ideas, but I’d like to add some with this post then we should just about have this topic covered and you can start scrappin. I just want you to have options. Side bar: I heard on Family Feud the other night that people store things in their trunk that they don’t want others to find. I digress but I did think of my scrapbooking supplies if I ever needed to hide anything. LOL.

So,  let’s start with my own stash organization.  I purchased this via Amazon.  scrapbook storage 4It’s original purpose is to hold all the nuts and bolts in the garage, but it’s perfect for me to store all my little embellishments like brads, buttons, clips, bling, etc.  You can see through the little drawers so it’s a time saver for me.  Because it holds so much it’s a space saver as well.

Next, aside from the crate files that hold “to be scrapbooked photos”, I purchased these at Michaels. I would NOT buy them at full price.  Scrapbook storage 3They are way too much (to me anyway) but wait until they have one of their big sales.  I got mine at $2.49 each.  I purchased several.   I use these if I’m collecting a LOT of photos and/or souvenirs.  As you can see, I have mine labeled (crude labels but they work) LOL.  I have a box for my retirement, my daughters wedding, etc.  When I find paper or embellishments that I know I’ll want to use with the photos, I just put them in the box with the rest of the stuff.  Everything is right there when I’m ready to create my book.

The next 2 items I saw in Michaels the other day.

The first is a great idea that I would definitely use if I had the wall space.  Scrapbook storage 2It’s the same concept that you see in many garages. Mount a pegboard then use hooks or baskets to hold all your supplies.  Of course Michaels sells the whole system and it can be configured any way you desire.  What I like about it is that everything is very visible and easy to reach.  I wish I had the room for it.

………….and finally

This is a handy little cart if you have to move your supplies around a lot. Scrapbook Storage I know many of you don’t have a dedicated scrapbooking space.  It’s on wheels so you can move it easily.  My only issue is the limited capacity of it.  I know everyone NOT is a scrapbooking hog like me.

LOL.  I must keep reminding you though….I’ve been at this a LONG time……before “scrapbooking” was a real hobby.

I think I have it covered.  Obviously there are other things out there, but this gives you a taste.

I promise photos will be next followed by paper.   So, stay with me.  If you just can’t wait, I do have a page in my menu discussing some photo tips to get you started.

Debra Armstrong

Thanks for reading.  Comments, ideas, thoughts?

Storage and Organization

Since I was an Accountant by trade, the need to be organized (or as my kids say slightly OCD) is important to me.  I know some artists have stuff everywhere (and at this point, I’m not saying that I don’t).  When I moved, my space became smaller so I am struggling  to fit everything in.  It’s still a work in progress.  However, I want to share some things that I found helpful.

Pots – found them at the Dollar Store and use them to keep markers and pens.

Flower Pots

Flower pots

Jars – can be recycled ones but they’re good for buttons.  Don’t forget those extra buttons you get on new clothes.

Baskets – again, can be found in Dollar Store.  Use for ribbon scraps.

Box top – I use Xerox box tops to save scraps of paper from layouts.  I go through this stash often.

Hanging Jewelry keeper –  I bought a couple of these when they were 1/2 off.  I guess people didn’t like the patterns, but my stamps don’t care.  I can see the stamps through the pockets and they hang so they’re out of the way.

Jewlery holder

Jewlery keeper

Tool Box – normally men have these in the garage for their screws and bolts, but I love them for small embellishments.  Again, I can see through the drawers and everything is in one place.

Pill Box – purchased at Dollar Store, can be used for small embellishments especially if you like to go to crops and scrapbook with other people.  Just take the supplies you need.

My normal scrapbooks are 12 x 12 so I have tons (and I mean TONS) of paper.  I started out using the Sterilite 12 x 12 boxes (and still like/use them) but I also purchased stackable racks.

Plastic rack

Plastic stackable rack

Most people can get by with the boxes or even magazine holders for paper but remember I’ve been collecting for MANY moons!!!

Notebooks w/ plastic inserts – I use these to hold my stencils.  They are inexpensive at an office supply store.  The supply store will also have the plastic inserts.

Notebook

Notebook w/inserts

CD rack – If you saw my ribbon page, you saw the CD rack.  When the shelves are slanted to the back, the ribbons stay in place.

Dowel / broom handle on 2 hooks or Paper towel holder – can also be used for ribbons as well if you’re not out of control like I am.   It’s hard for me to pass up $1 ribbon.

Crate file or you could simply use a box – I use a crate with hanging file folders to gather items for books.  I put the developed photos in, papers I want to use, relevant embellishments and brochures or memorabilia.  I label the file and just pull everything out when I’m ready to assemble the book.  I’m just a TAD behind on my own scrapbooking.  LOL.  I make too many gift books I guess.

Last but not least, Small plastic bags that buttons come in on new clothes.  Once you take the button out and use it on your layout, use the bag for ink/chalk blending pads or small embellishments.

Look around the house.  So many things can be used.  Some people like to make their storage fancy and decorative but I care more about function than how it looks.  Just MY personal opinion but I’d rather do a page than decorate my Xerox box top for scrap paper.

Perhaps an unorganized mind is more creative, but I can’t work in chaos.  Everyone is wired differently.  So, do whatever works for you but I hope you gathered some ideas.


by Debbi founder of ScrapbookingForAnyone.com

Thanks for reading. Please leave a comment.

Scrapbooking Embellishments Oh MY!

Embellishments

You can use anything to embellish

Scrapbooking embellishments …… oh my, where to start. To me, everywhere I look I see a possible embellishment. I save (and purchase) all kinds of things that I may not have a use for at the moment, but I know one day it will be just the perfect thing on my page. Now some call this being a hoarder. LOL. I prefer to think I’m participating in creative recycling or being wise with my money. The following is a list of both purchased and recycled embellishments:

-Stickers
-Stamps
-Buttons (cut back off and sew on page)
-Bling
-Ribbons
-Lace
-Yarn
-Fabric pieces
-Flowers
-Jean pockets
-Paper clips (shop in office store, they’re cheaper)
-Shrinky dinks (the kids love to help make these)
-Costume jewelry (loose but not too bulky)
-Small pins (gathered from new clothes)
-Twist ties (from bread – can be used with buttons)
-Cardboard from boxes (can be used to make chipboard letters, shapes)
-Soda can tabs (can be used with ribbon or cord)
-Brochures or memorabilia from the occasion or trip
-If you like to stitch as well, create a small pix (see the pumpkins I made in the photo above)

I purchase supplies when they are on sale, clearance or I have a coupon. I have to really love or need an item to do otherwise. So, when I’m in an office supply store and see something on a clearance table because, after all, who wants paper clips shaped like feet? Go figure. LOL. I’ll purchase these and low and behold, I’ll create a beach scrapbook page that I’m able to use my foot paper clip to attach a journaling note. No, I didn’t plan a trip to the beach just to use the clip. LOL.

The point is, don’t limit your options. Think outside the page. Embellishments can add interest and depth to your page but don’t get too bulky with them when you’re scrapping in a book.

Now that you have some ideas, go create!

by Debbi founder of ScrapbookingForAnyone.com

Thanks for reading. Please leave a comment.

Got Ribbon?

I love to use ribbon in my layouts. It adds some dimension to the page and doesn’t cost a lot. This is just Ribbon CD rack
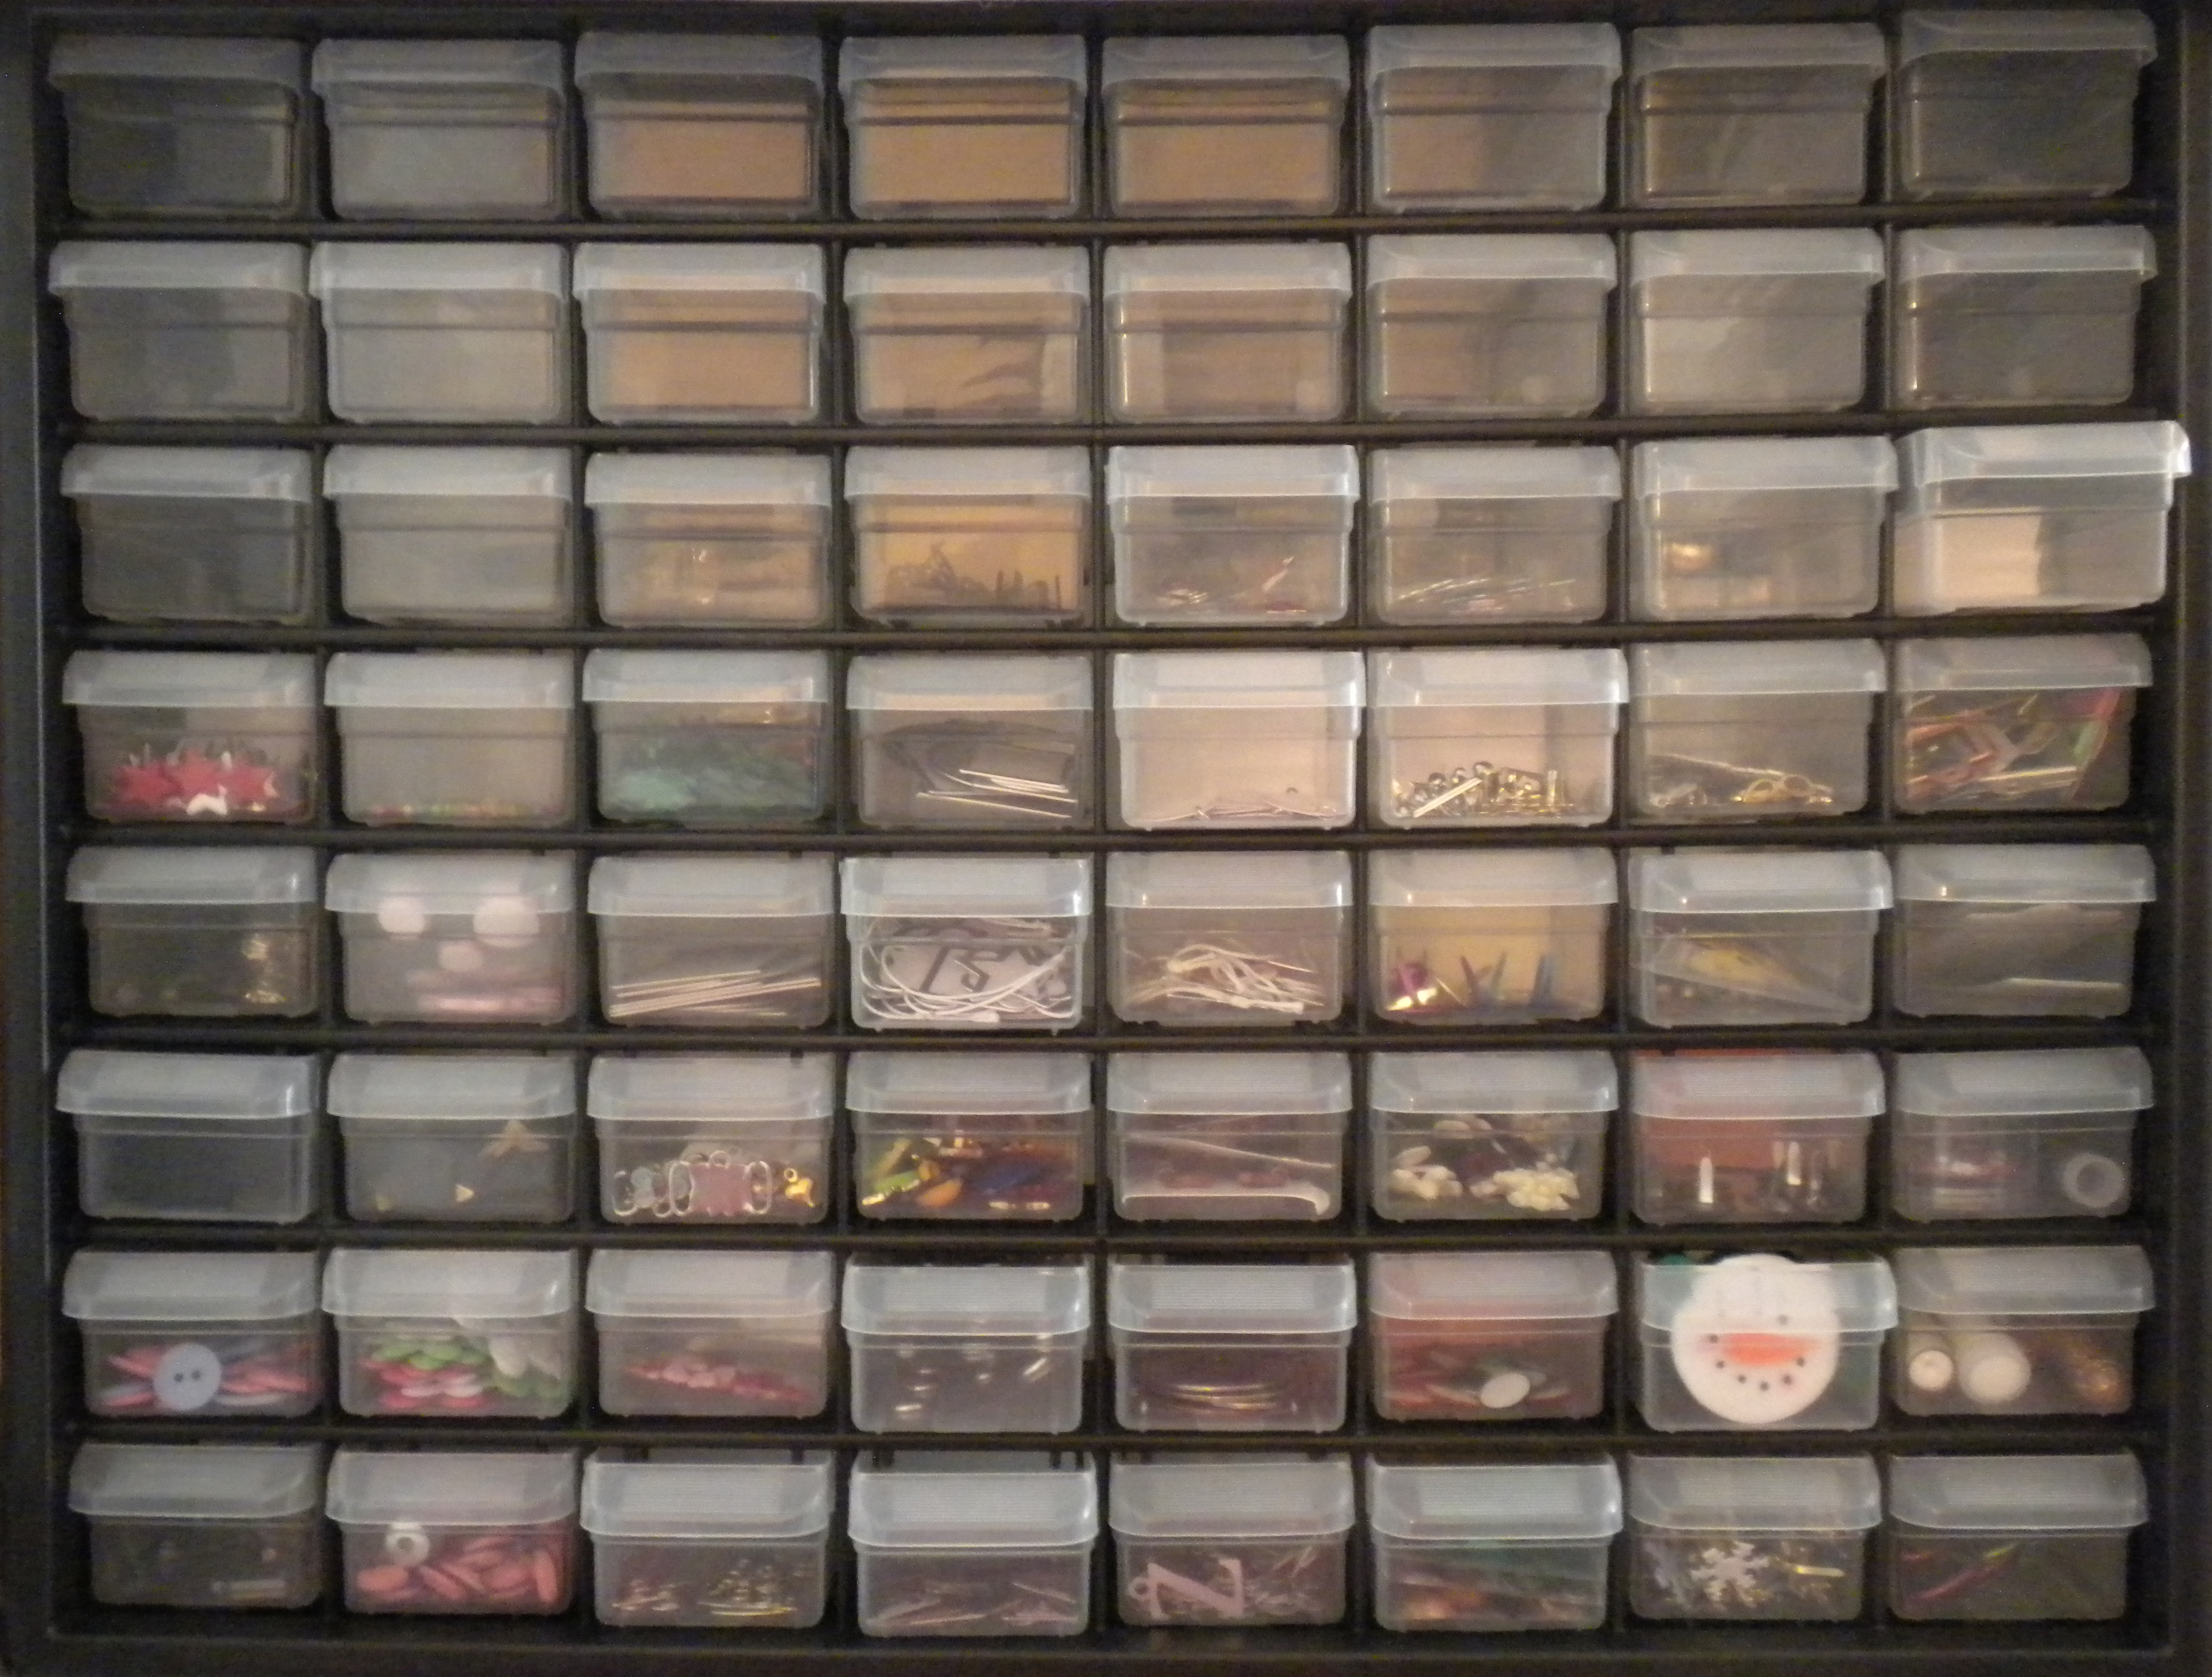
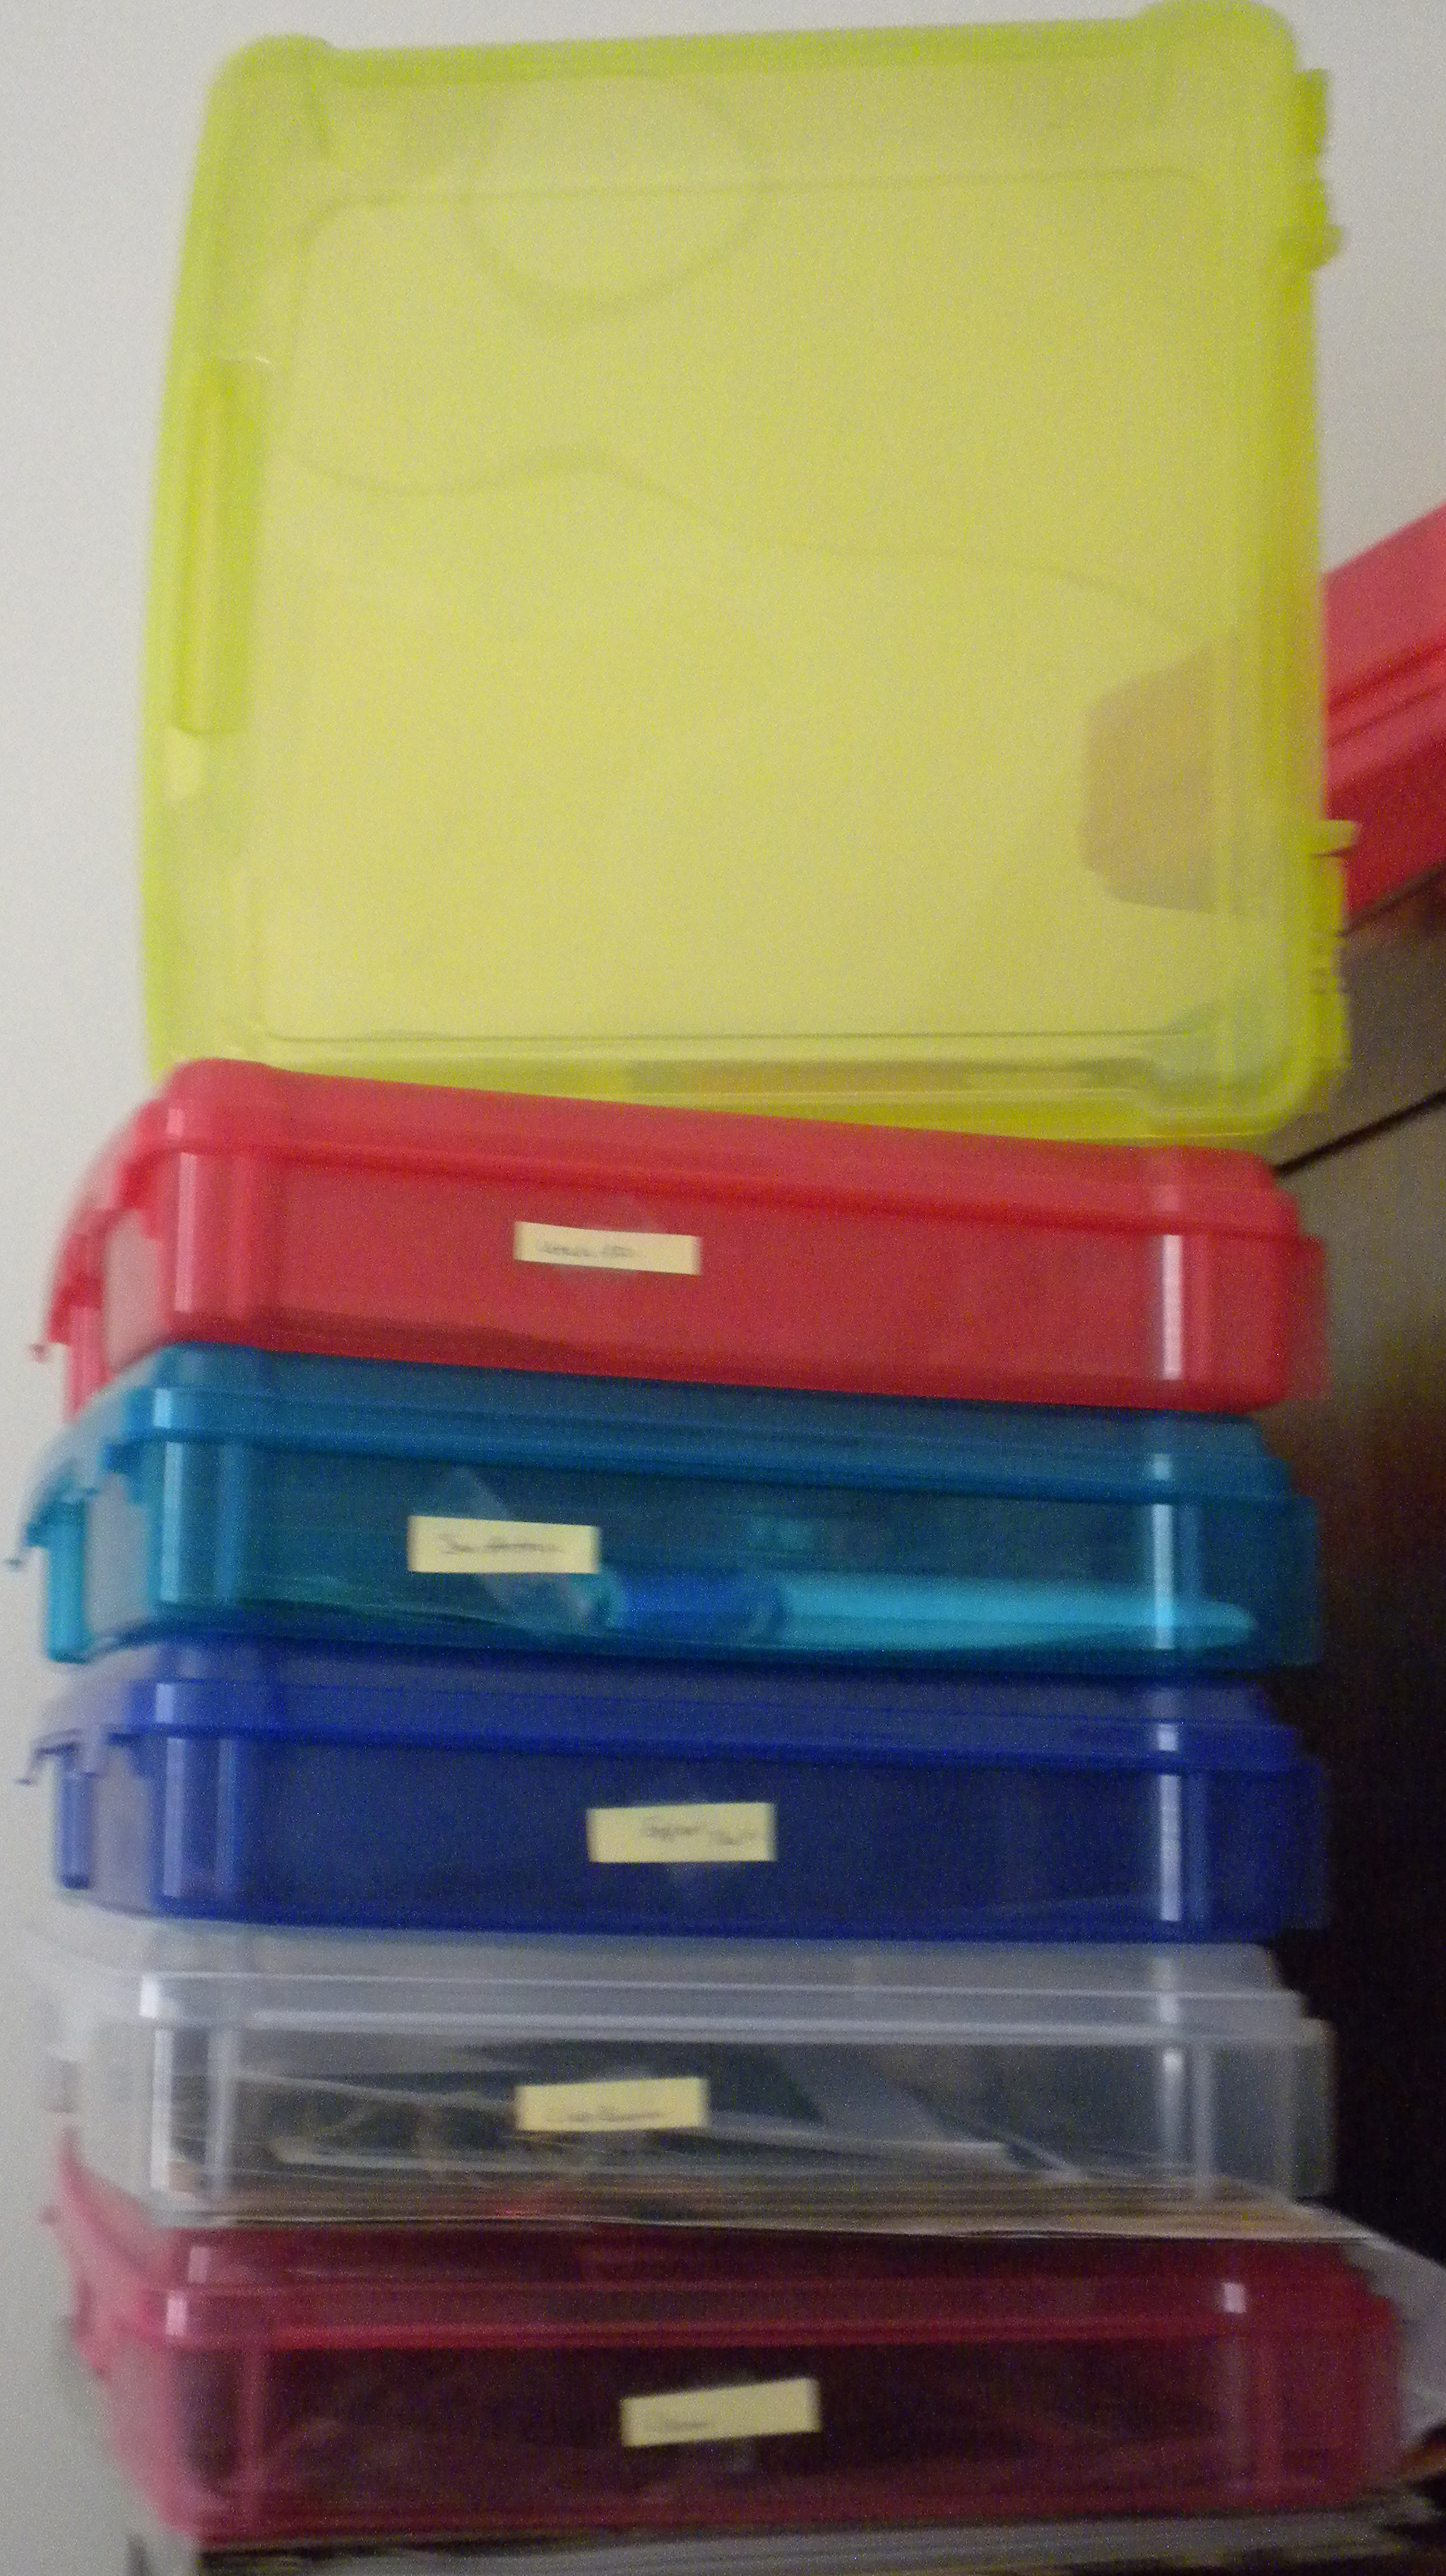
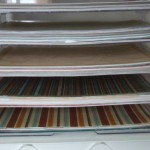
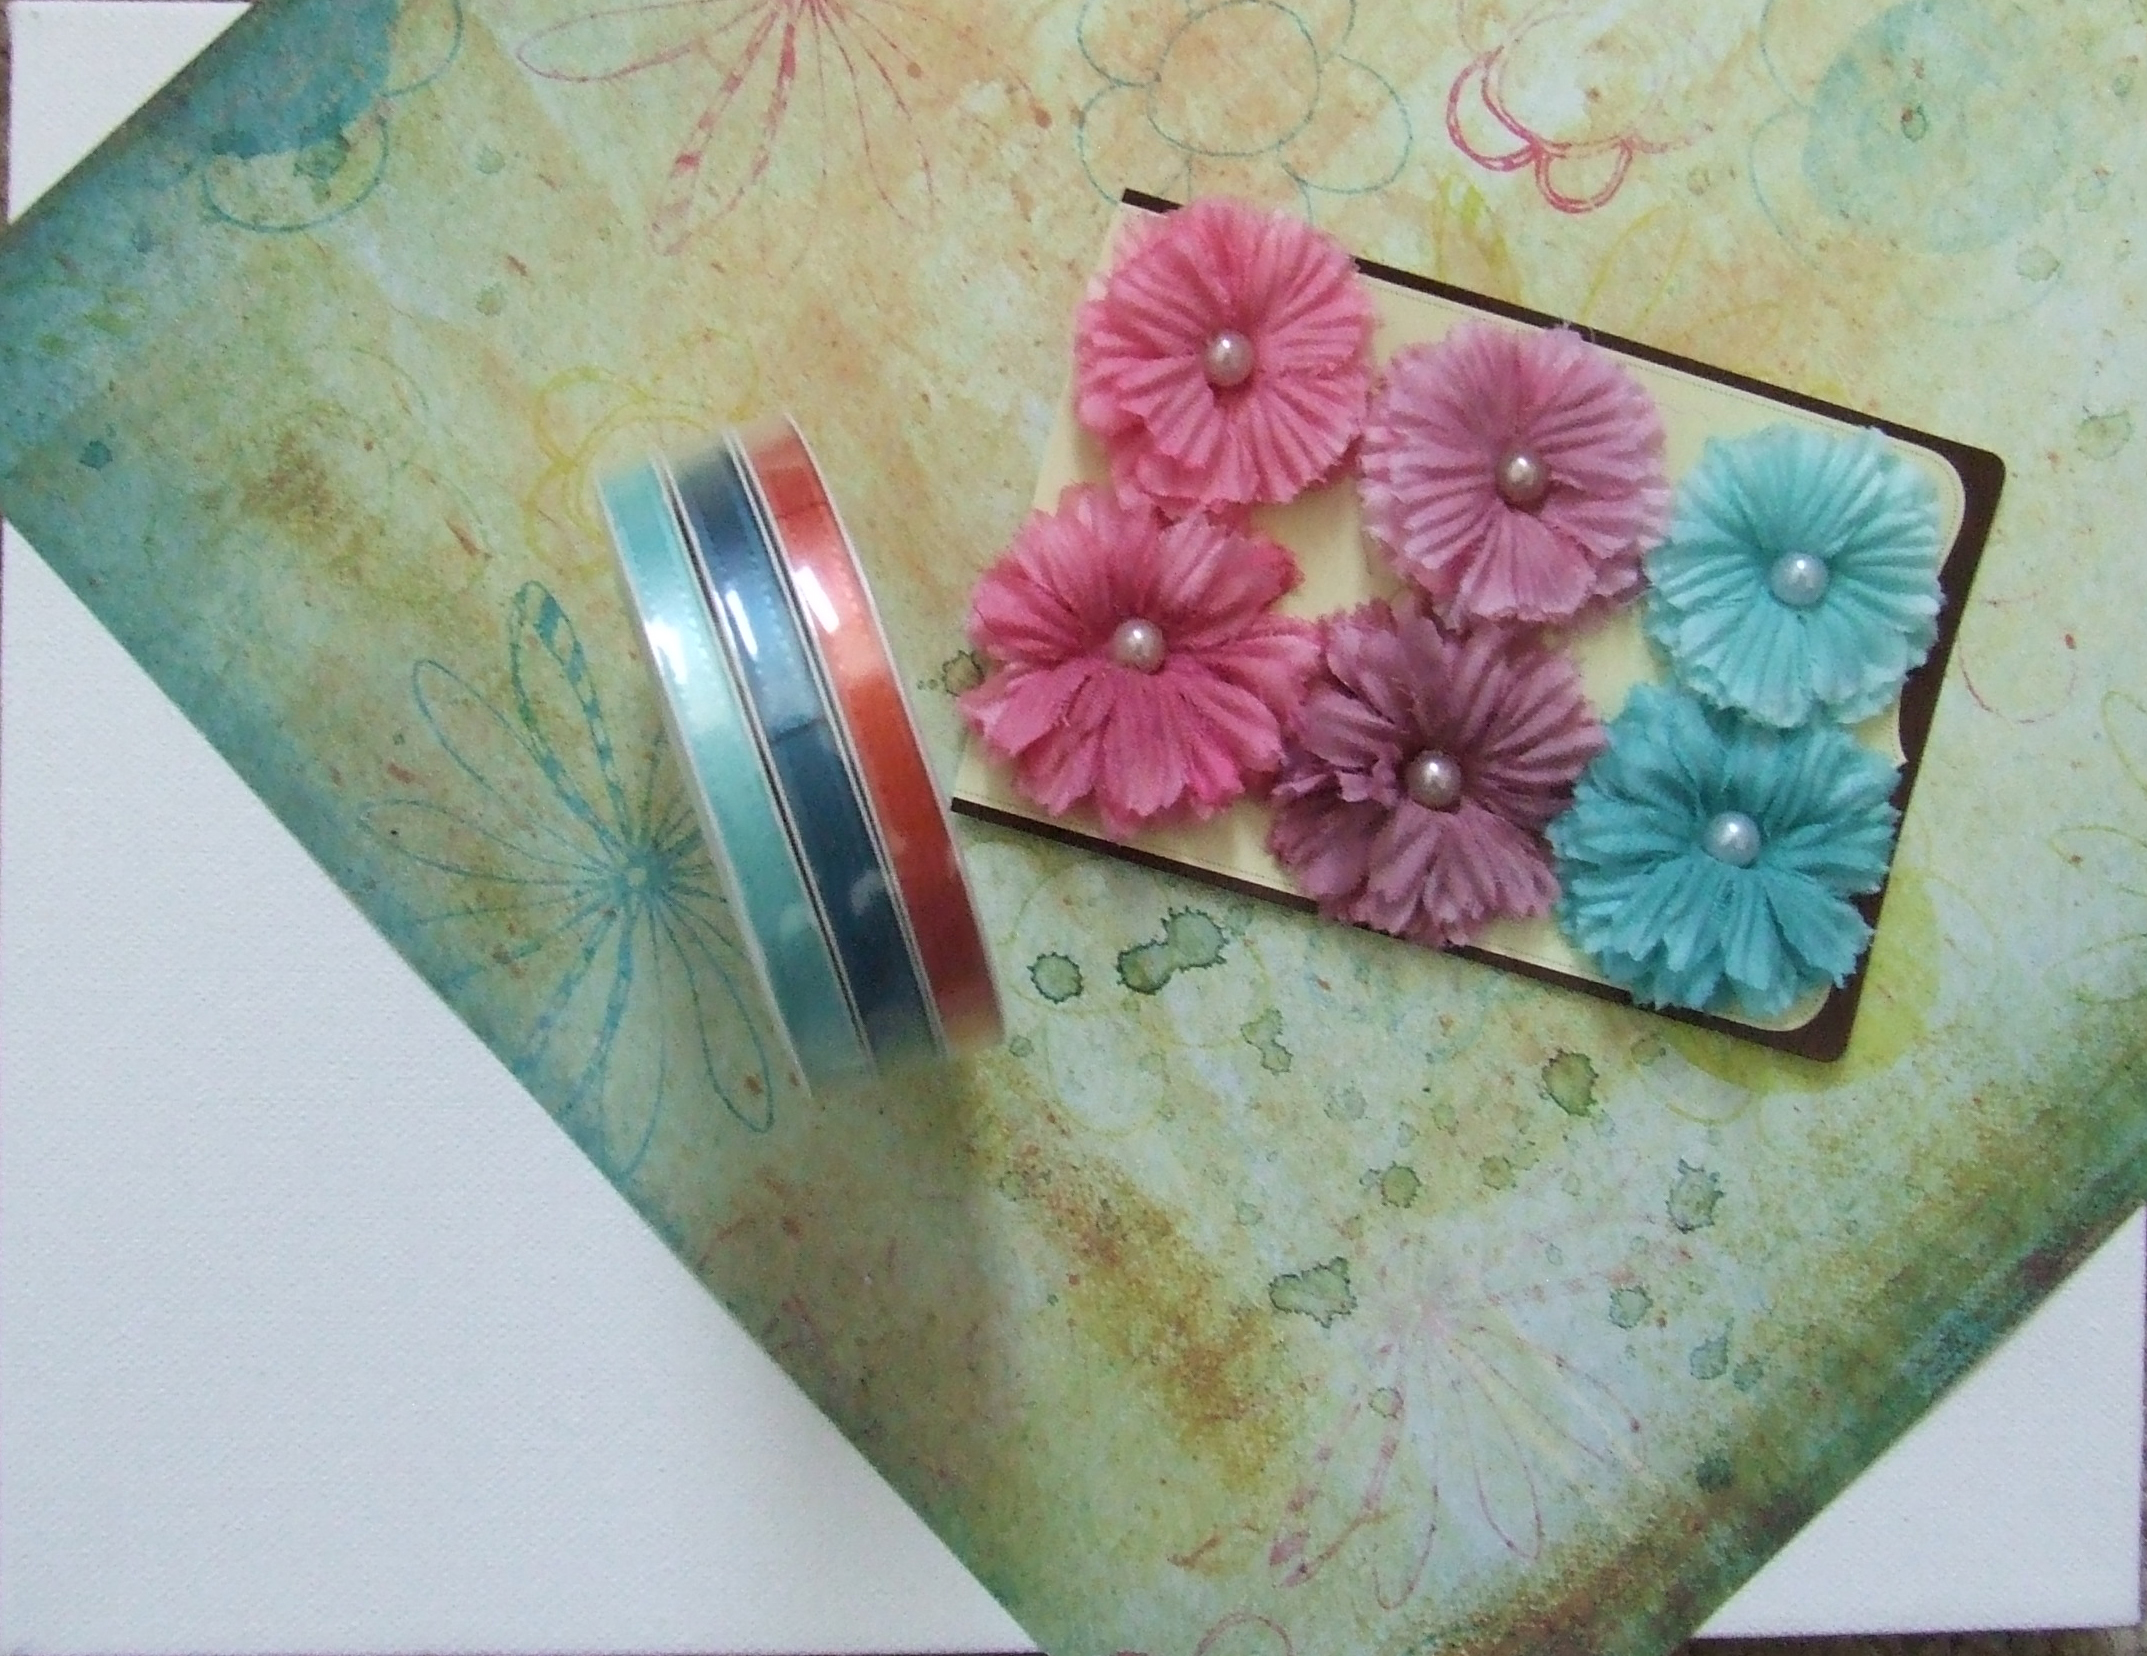
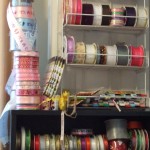
a very small portion of my stash.

Ribbon rack
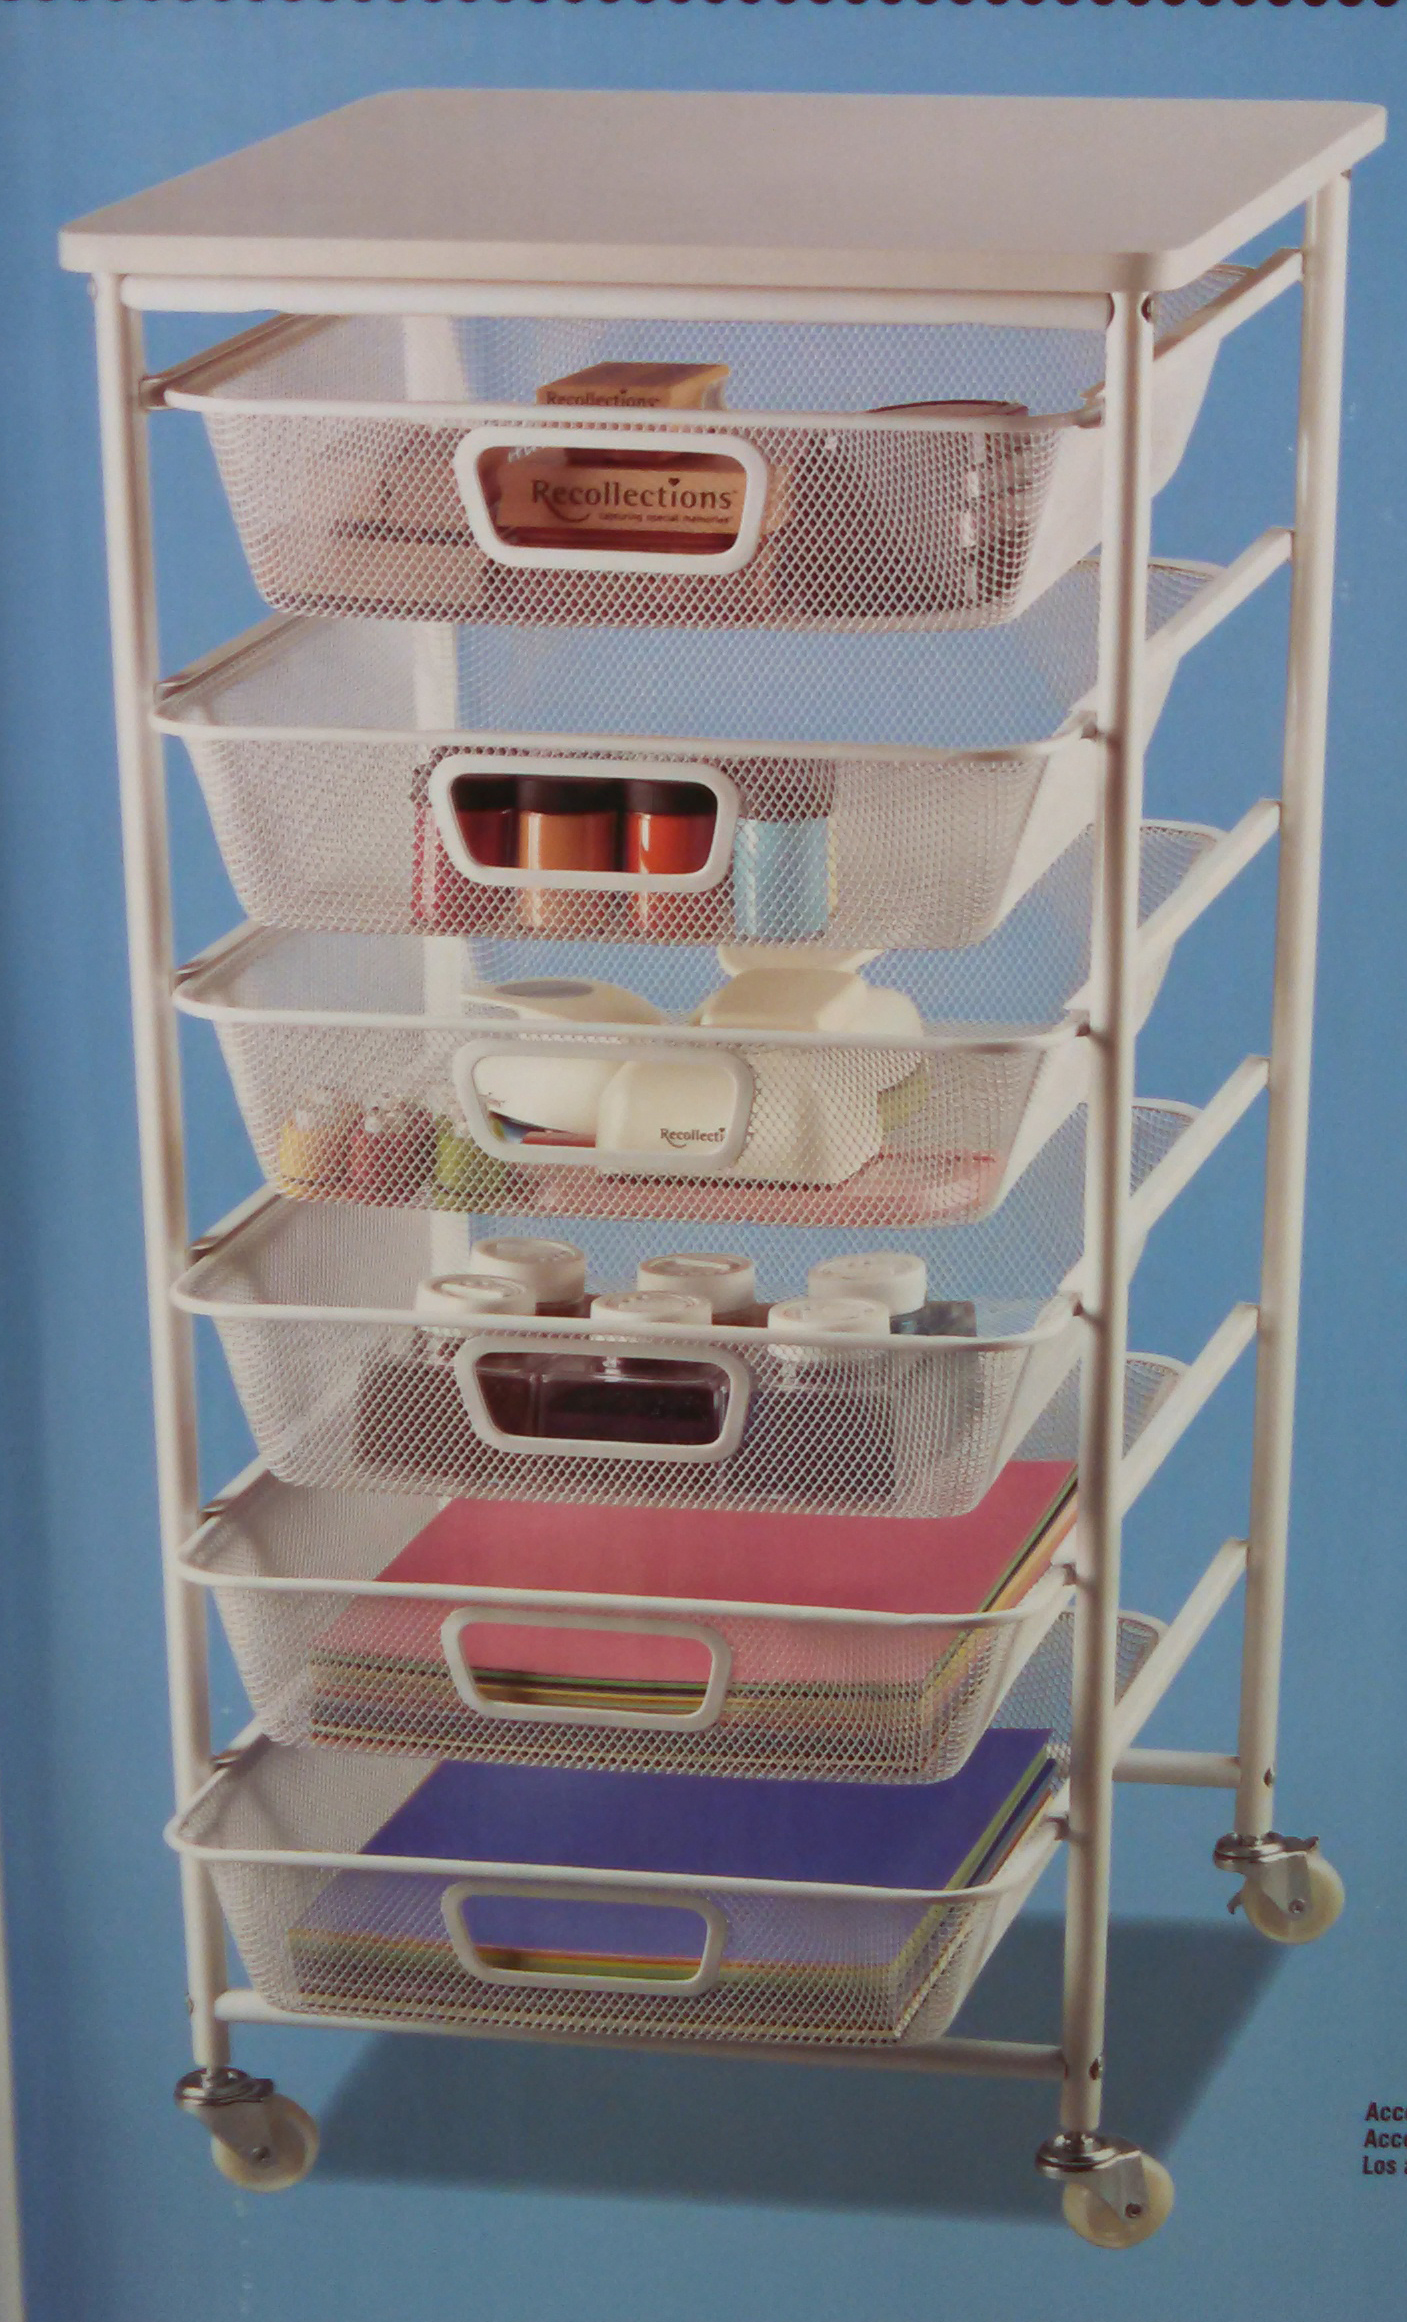
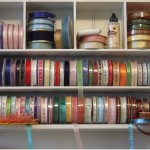
As you can see, I’ve hung a rack to store some of the ribbon but I also purchased a CD holder (it cost about $10). I angled the shelves when I assembled it so that the ribbon wouldn’t fall out. This will give you about 7 shelves. I know, I’m overflowing on that too.  If you think this is bad, you do NOT want to see my shoe closet!  LOL.  As I’ve said before though, if it’s not on sale, I don’t buy it so I can guarantee that I did not pay full price for any of this.

I also have a basket that I use for scraps of ribbon from various places. For example, clothes that you buy with those annoying ribbons sewn on in the store  that they use to hang the item. Those ribbons just stick out of your clothes (or mine anyway) when you wear them. So, I always cut them off and have used those little pieces in layouts. Should that be a secret? LOL.  These little ribbons are a resourceful way to collect a nice variety of ribbons for your collection.    Sometimes stores will sell the end of a roll (less than a yard) and put it on clearance. I periodically get gifts with nice satin ribbon and I keep it. When you get ribbon, just throw it in a basket.  That’s what I do.  Then when I need just a tiny piece, I check my stash for something to match.  It costs very little or nothing at all.

I’m making a baby scrapbook for a friend so here are some samples of how I used ribbon. The pages in this book are only 6” x 6” so, I can’t do a lot, but you’ll get the idea.

Page 1

Page 1

Notice the little envelope on Page 2.  The ribbon is attached to a note card that will be for private journaling.

Page 2

Page 2

Page 3, I attached some paper clips to a tag and used ribbon to hold it to the paper.

Page 3

Page 3

Page 4 I stapled ribbons to the side of the page for decoration and used 3 color coordinated buttons on the bottom left.

Baby book

Page 4

Page 5 I just used some ribbon scraps wrapped around the photo frame and added a tag with a brad that says “Love”

Baby book

Page 5

I hope this inspires you to start your OWN ribbon stash.  It’s less costly than all my shoes too. LOL.  Ribbon just adds a little dimension and pop to a simple page.


by Debbi founder of ScrapbookingForAnyone.com

Thanks for reading. Please leave a comment.

Think Outside the Book

Ok, so you don’t have a ton of time to do a scrapbook but there are a few photos that you would just love to show off. Think outside the book. There are other options.

1. Canvas

Who said canvas is just for painting portraits?  You can cover it with scrapbooking paper (or fabric), arrange your favorite pictures, add some flowers and hang. Aside from the plain canvas that you normally see, I’ve picked up a couple pieces of canvas that will allow you to display objects as well. I don’t see this type of canvas often but  I like it.  You can put a picture in the indented part and decorate around it or just use the indention for an object that relates to the photo(s) that you’ve mounted along the side. Do whatever suits your taste.

Hole canvasCanvas


2. Wood Frames

Again, cover with paper or fabric and place the photo(s) to be seen through the hole or use that space for your journaling and space your photo(s) around the hole.

Heart wood frame
3. Multi photo frame

Why does each place require a photo?  Use embellishments or journal.

Pix frame

4. Rolodex

What IS that you say???  🙂  It is a small file that we used to keep on our desks with our most used points of contact.  I personally have not done this, but it’s a cute idea for the office. I’ve seen it on a desk with photos instead of all those contacts that we now have computerized.

Now, look around the house; you may come up with other ideas when you open your mind to the possibilities.  It’s ok to break the rules when it’s art.


SO, you’re using all those different pieces of paper and you have snips and scraps lying around. What do you do with those????

Make cards. They just need small pieces of paper to decorate. card


Hope this gives you inspiration to create!


By Debra Armstrong
email:  debbi@scrapbookingforanyone.com
Thanks for reading. Please leave a comment.

Why Journal Anyway??

Some of you are wondering why you would journal on a  page. It takes too much time and your handwriting is awful. “Why can’t I just put my photos on a page?”  Well, first it would then be a photo album and second, you don’t have to handwrite. While you may know all the information concerning the photo, others don’t. Besides, 5 years from now you may not remember the event or the people. Sometimes I can’t remember what I did a week ago.  🙂 Also, hopefully you’re journaling not only for your own memories but for future generations.

Different ways to journal:

1. Who, What, When, Where labeling for photos

2. Quick Captions – Expand on the above option with additional details and emotion

Why is Suzie crying/laughing?
Be more descriptive
Mention something that is not apparent by just looking at the photo

3. Bullet – for example, perhaps it’s a photo of your son, list his attributes; things that make him unique or just things you personally love about him

or a graduation photo – you could list the things that are great about the day, the accomplishments, or struggles to get to this day

4. Additional information – for example, when I took a photo of the Iditarod dog teams in Alaska, I added a narrative that explained the race and the route the dogs took so the photo would be more meaningful to those who had never seen or heard of such a thing

Another example, photos of elderly relatives – take time to ask them to share stories about their lives.  This not only makes your scrapbook more interesting, but I find that frequently they appreciate someone caring enough to ask.  It gives them a chance to reminisce and reflect upon their experiences as well.  Some of that interesting data you just can’t find on Ancestry.com

Can you now see how journaling turns a photo album into something to be treasured for many years to come?


By Debra Armstrong
email:  debbi@scrapbookingforanyone.com
Thanks for reading. Please leave a comment.

Recycle it

Just a thought as I was clearing out Christmas stuff. I know….I know, everyone is recycle cardsthinking about Valentines Day and I’m still holding onto Christmas. Hopefully I’m not too late for this tidbit.

I’m sure you took MANY photos during the holiday especially if you have kids (or grandkids in my case). Before you throw out those snail mail cards, take a look at them and see if there is an image that can be cut out and used on one of your pages. I have a cute glittered snowman, Santa, reindeer, nativity scene and words on cards that I’m keeping. I’ll cut out what I want and recycle the rest.  It’s a inexpensive way to dress up your page.

By Debra Armstrong
email:  debbi@scrapbookingforanyone.com
Thanks for reading. Please leave a comment.